Tag Archives: easy recipes

The Great Toaster Oven Experiment: Focaccia

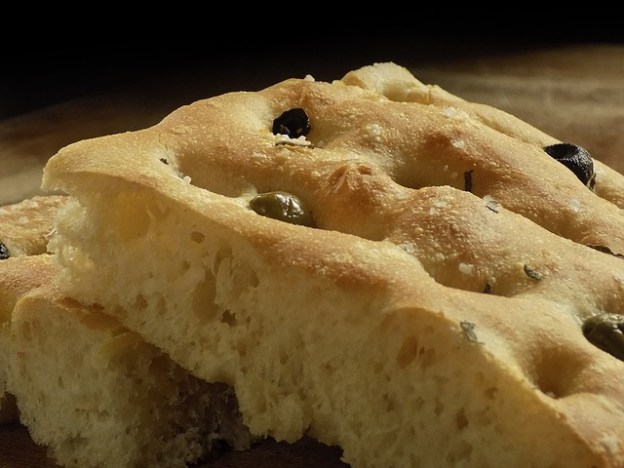
Continuing with alternative baking methods/bread, I decided to attempt focaccia. Spoiler alert: not perfect, but perfectly acceptable in a pinch.

In my search for a suitably-sized vehicle, I discovered that out of the dozen or so bread/loaf pans accumulated in decades of marriage — this not being the first for either of us, though that may not explain the excessive number — only one actually fits in the toaster oven.

Dimensions, for anyone else who is oven-less, or wants to give this a try (the rest of you can enjoy a short snooze):

  • Length: Exterior including handles 9.75″/25 cm; interior 8.25″/21 cm
  • Width: Exterior 5″/12.25 cm; interior 4.25″/11cm
  • Height: 2.5″/6.5 cm

Ingredients

(Dough)

  • 1 cup warm water (not too hot; you don’t want to cook the yeast)
  • 1 teaspoon dry yeast
  • 2- 2 1/4 cups all purpose flour
  • 1 teaspoon salt
  • 1 tablespoon (more or less) extra virgin olive oil (EVOO)

(Topping)

  • 12 pitted olives, Kalamata or Castelvetrano, as you prefer, sliced
  • 1-2 tablespoons EVOO
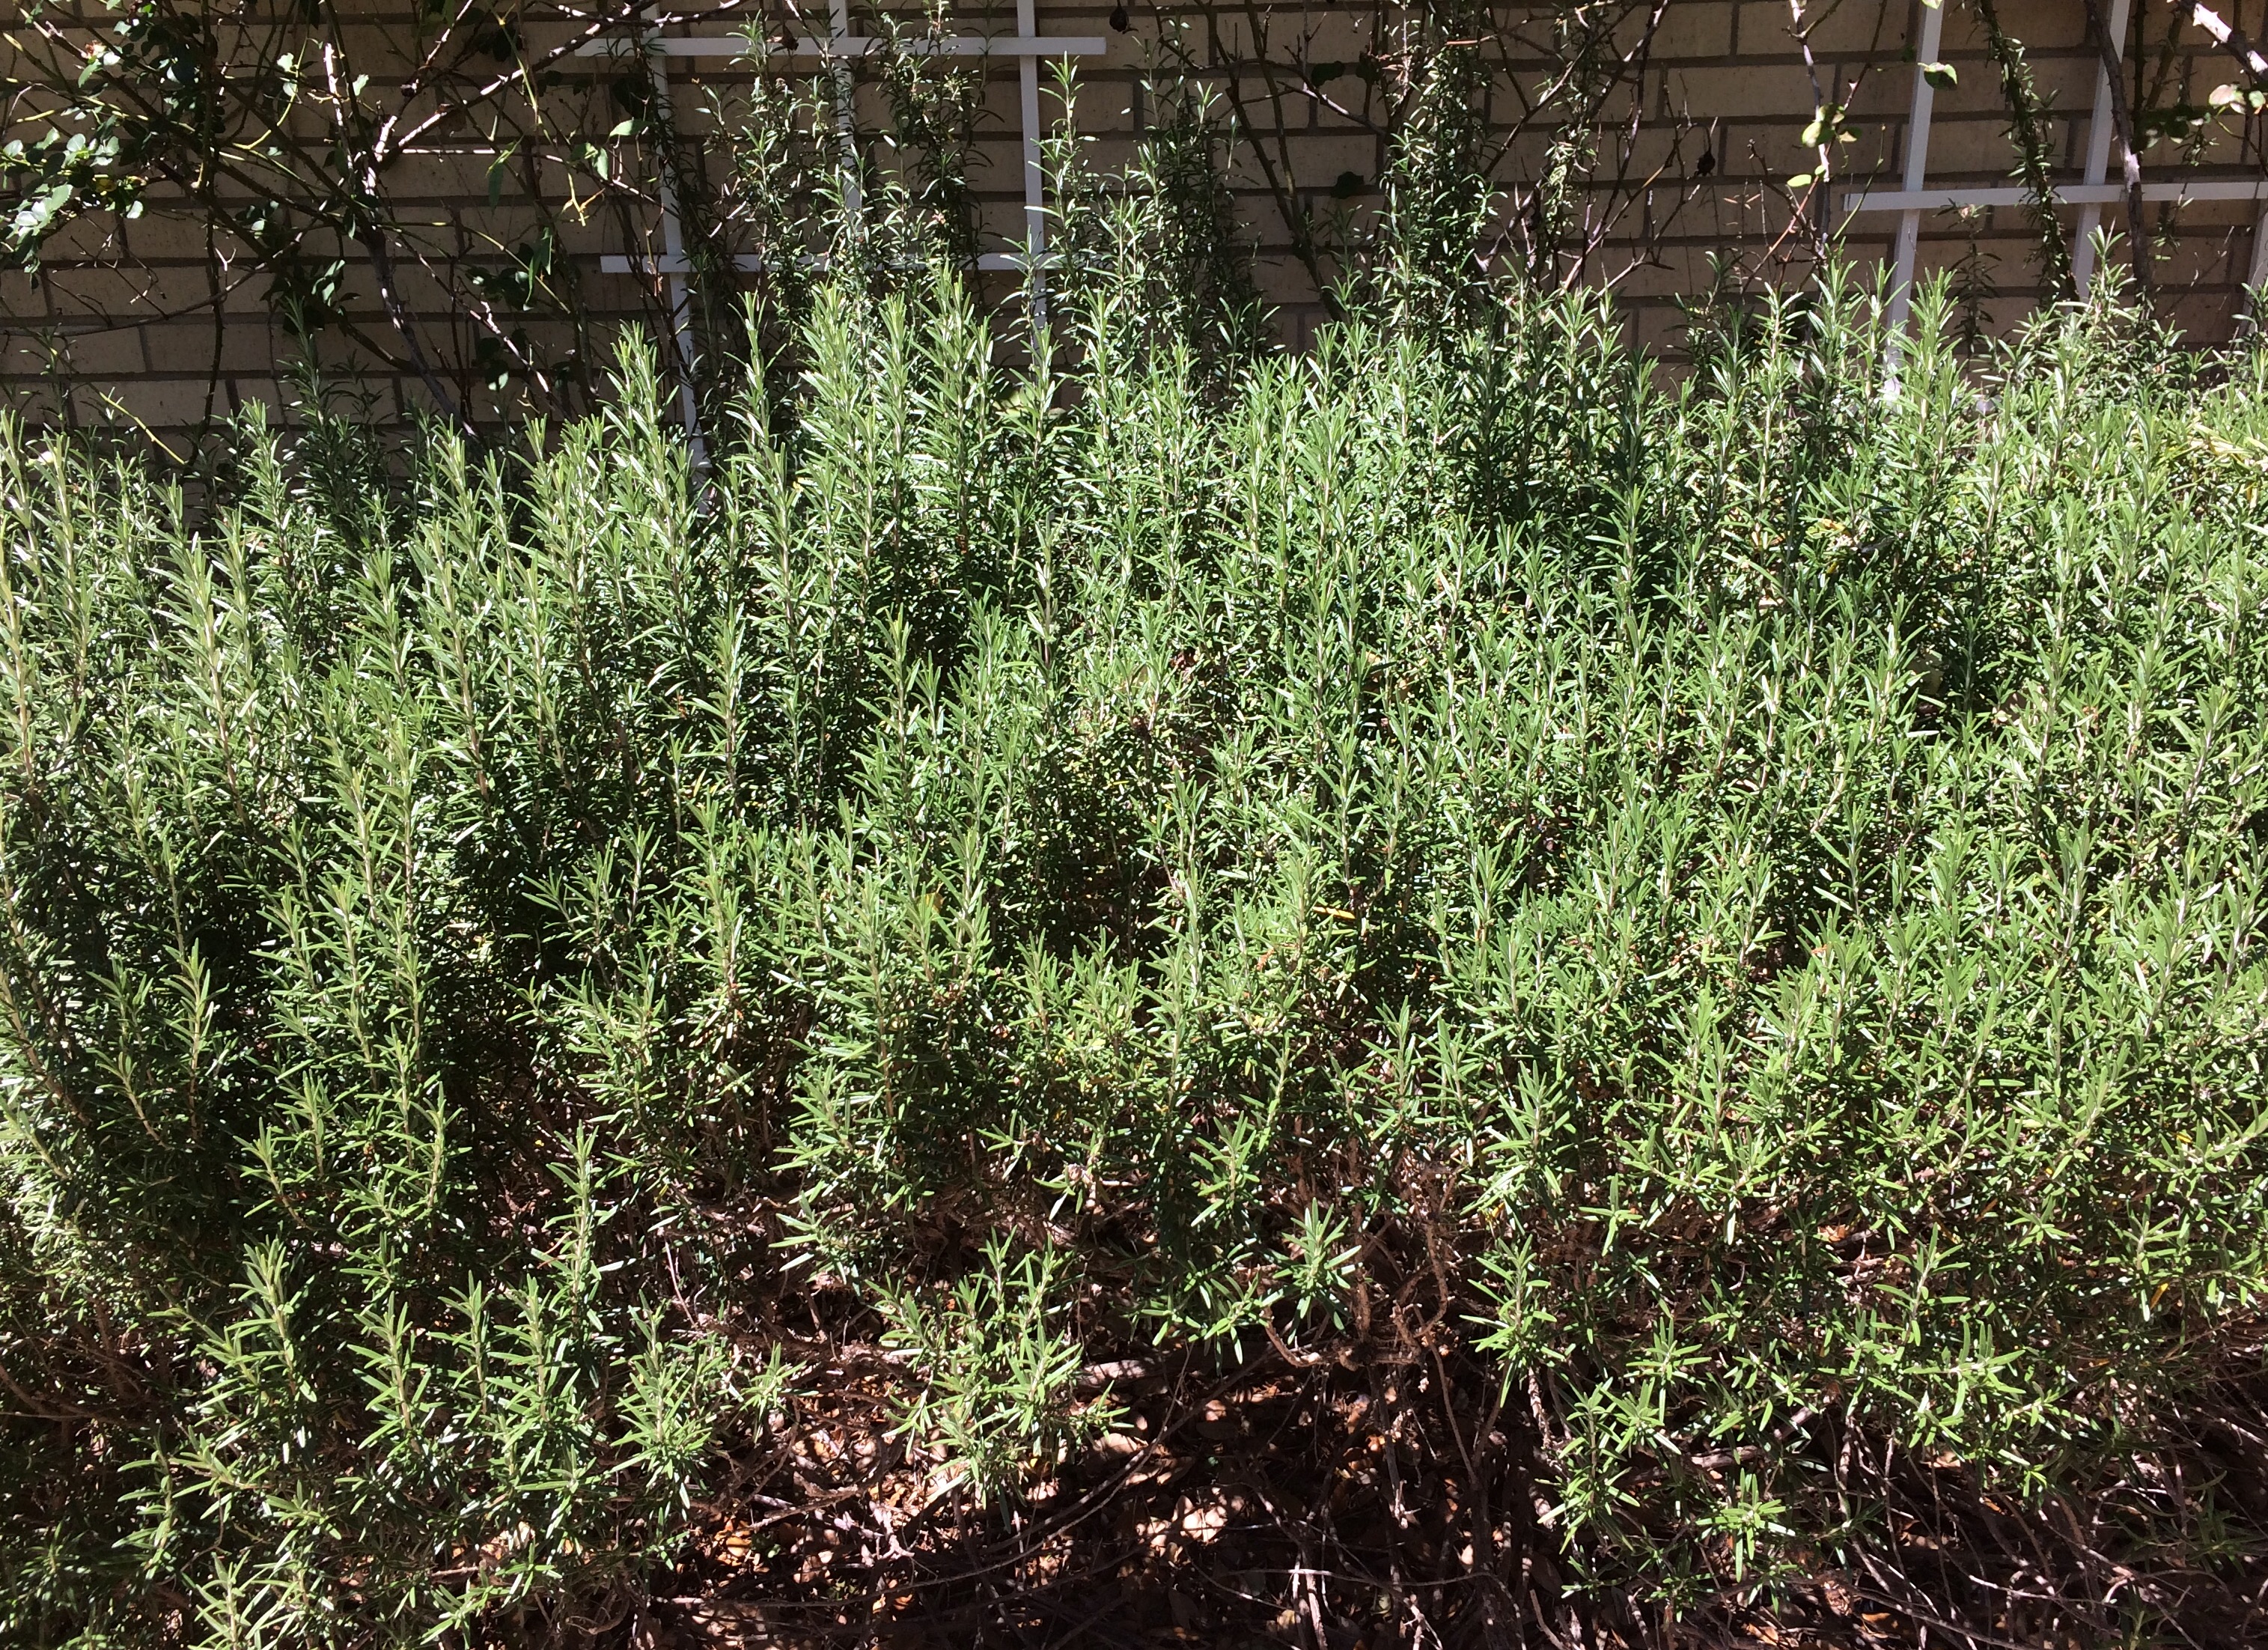
  • 1-2 teaspoons chopped fresh rosemary (or 1 teaspoon dried)
  • Kosher salt or fleur de sel

Method

  1. Place warm water in a bowl. Sprinkle the dry yeast, stir and let it dissolve for about 10 minutes.
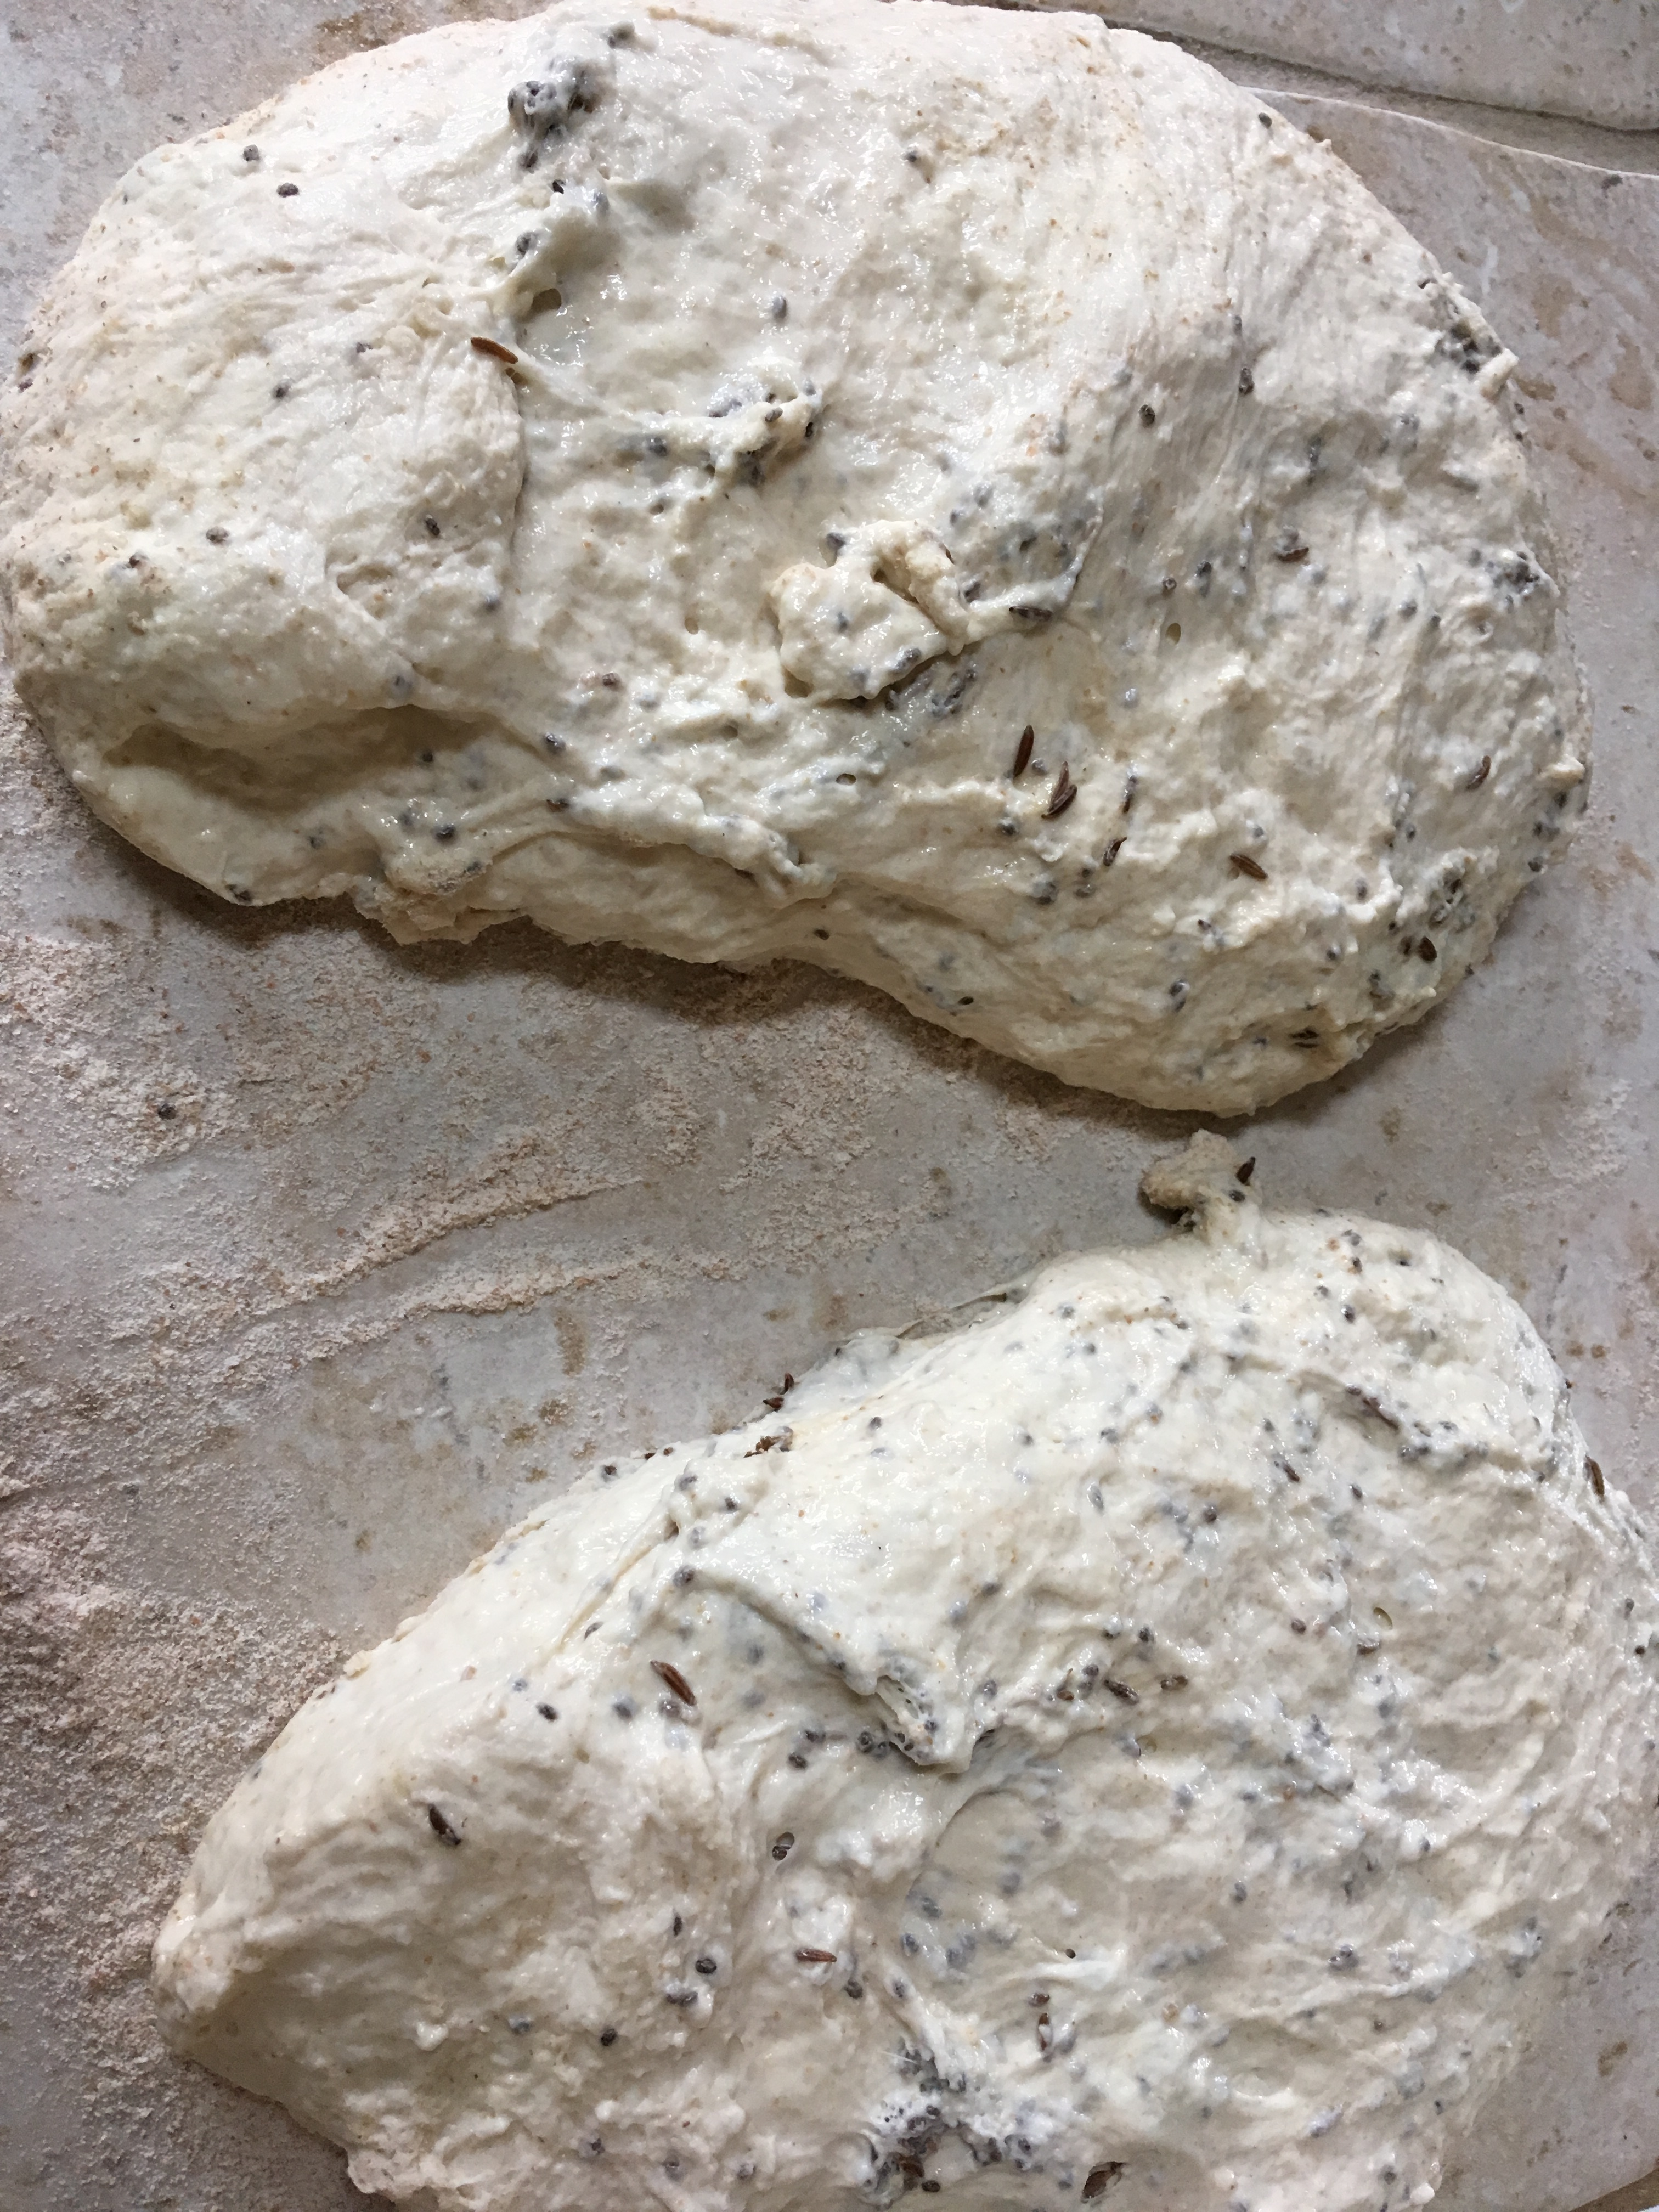
  2. Add 2 cups of flour and 1 tsp salt to the bowl and stir. The dough will be sticky.
  3. Turn out onto a floured surface and knead until smooth and elastic, about 8-10 minutes. Add more flour as needed. Shape dough into a ball.
  4. Pour a little olive oil into your bowl, add the dough, and roll it around until it’s lightly coated.
  5. Cover with plastic wrap and let it rise in a warm area until doubled, approx. 1 1/2 hours. (First rise)
  6. Punch it down, knead into a ball, return to the bowl, cover with plastic and let it rise in a warm place until doubled. This takes about 45 minutes. (Second rise)
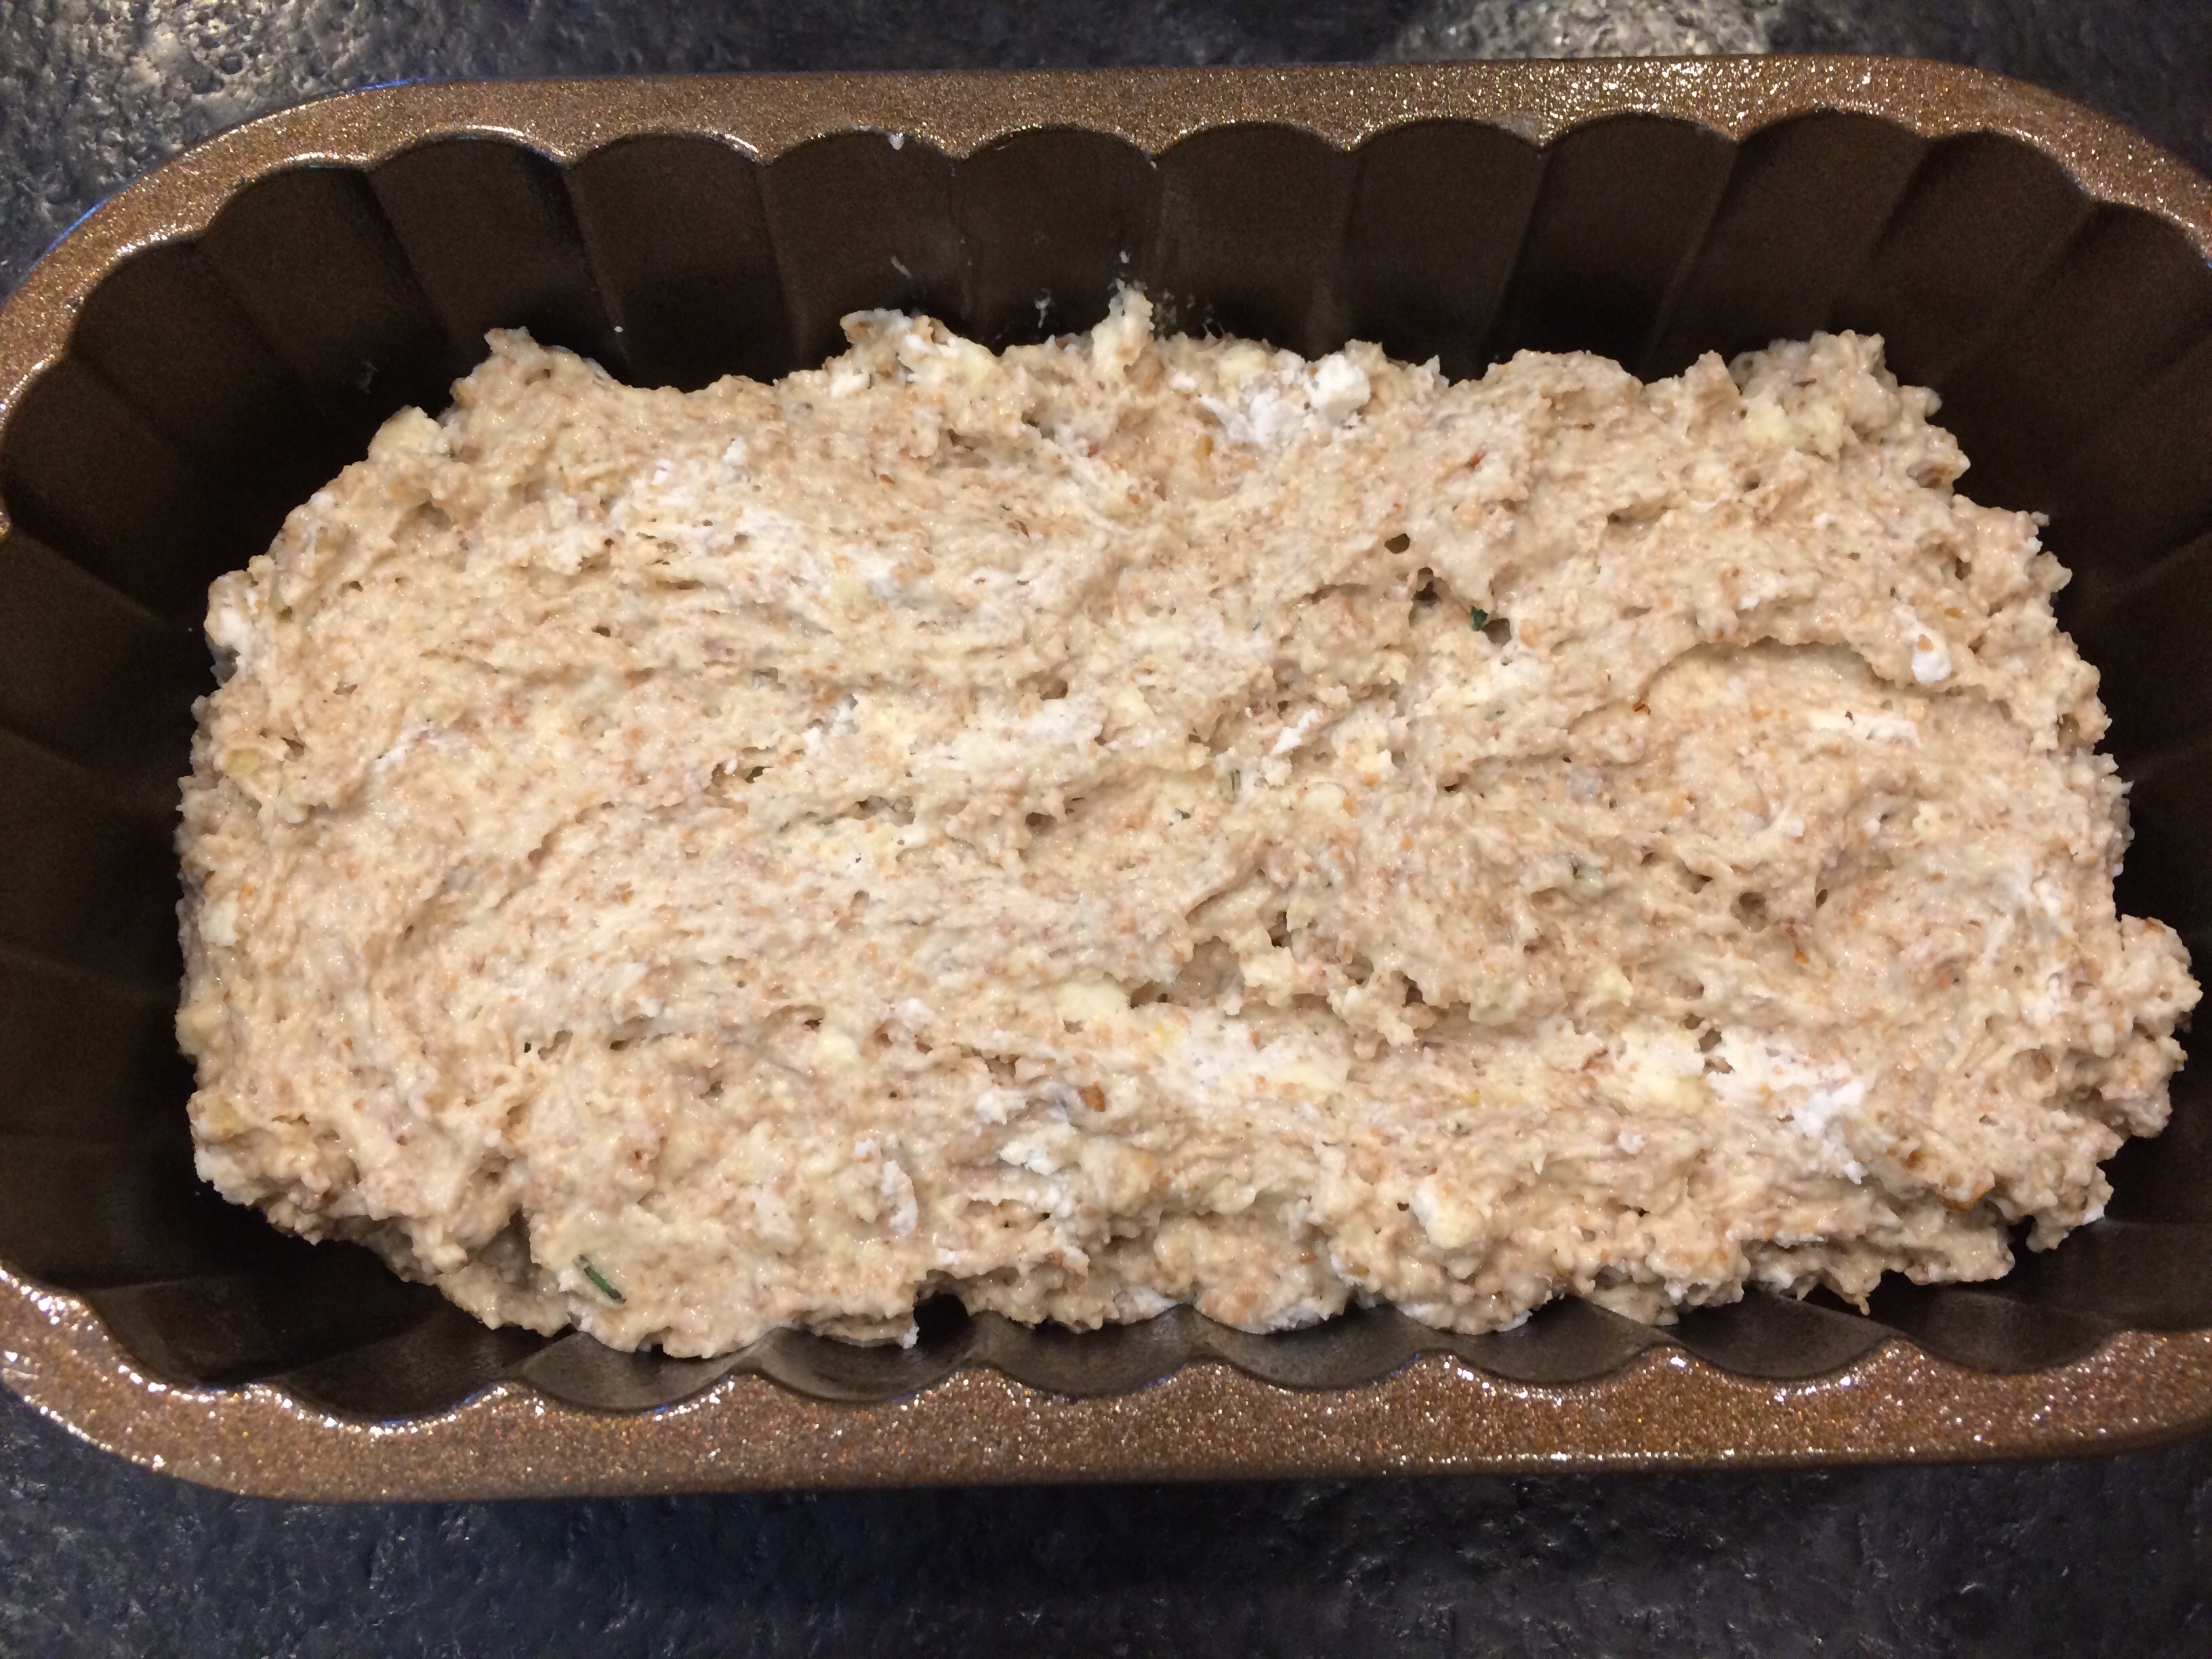
  7. Pour a small amount of olive oil into your loaf pan and spread it around to coat the inside.
  8. Once the second rise is finished, punch it down lightly, transfer it to the loaf pan and let it rest for 10 minutes.
  9. Drizzle about 1 tablespoon of olive oil over the top of the dough. Sprinkle with chopped rosemary and add the olives on top. Let it rise uncovered for about 25 minutes. (Third rise).
  10. Using your fingertips, press indentations into the surface of the dough. The oil will pool in the indentations. Sprinkle lightly with coarse salt
  11. Bake at 450 degrees F (230C I think?) for about 15-20 minutes. Mine began to burn at 20 so keep an eye on it!
  12. Serve warm with more olive oil. Adding garlic and herbs (oregano, rosemary, thyme) to the oil is even better.

Sourdough Made Simple

Sourdough has a reputation for being a bit tricky, so a lot of people find it intimidating. Thanks to my friend P, a fellow baking geek, I’ve been introduced to the Lahey method, which makes it super-easy to bake bread at home. I love this book!

IMG-0127.jpg

I’ve been experimenting with Lahey’s method for several weeks and my adapted recipe for sourdough is even simpler. It looks like a lot of steps but bear with me.

The genius part: Instead of folding/kneading your dough every few hours, you let your dough ferment overnight (18 hrs), do a second rise for 2 hrs and bake. No more being stuck in your house all day during the rising process!

STEP 1

All sourdough begins with a starter — natural yeast with a brinier flavor than the commercial yeast you find at the supermarket. Plan on 3-4 days before it’s ready to use. All you need is flour, water, air and time.

Mix equal parts water and flour in a wide mouthed container, cover it loosely so air can get to it, leave it out on your counter and wait. THAT’S IT. Really!

Once your starter is bubbly and active, try to make your dough within a few hours, before it loses potency. Thereafter, if you’re not baking regularly, dump out about 50-75% once a week, stir in equal parts water and flour, and start the process over.

IMG-0038.JPG

Starter is ready to use!

I encourage everyone to invest a few bucks in a kitchen scale and measure by weight rather than volume because 1) it’s easier and 2) it will guarantee consistent results. Remember, different flours have different densities so one cup of A may be slightly more or less than one cup of B.

Put your empty container on the scale, and set it to zero. Add 50g-75g whole wheat flour, 50g-75g bread (strong) flour, and 100g-150g cool water, resetting to zero after each addition. Don’t worry if you’re off by a gram or two as long as your ratio of total flour to water is roughly 1:1.

STEP 2

You’ve been patient and you now have over 100g of starter. Let’s get going.

Put a large bowl on the scale, zero it out, and add:

  • 600g flour (I like 475g bread flour +125g whole wheat or another grain)
  • 16g salt
  • ¼ teaspoon of active dry yeast (the kind you get at the grocery store)
  • 450g water
  • 107g active starter*
  • Optional: Add a generous handful of chia seeds and a tablespoon of caraway seeds, as I’ve done here.

*If this amount uses up most of your starter, replenish by adding  50g flour plus 50g water, mix well and set it aside to reactivate for a couple of days.

STEP 3

IMG-0110

Once you have a well mixed dough (it will be sticky; DO NOT be tempted to add more flour), loosely cover the bowl with plastic wrap and leave it out at room temperature overnight for 18 hours. If you do this at, say, 4 PM, your dough will be ready for the next step at 10 AM the next day.

STEP 4

18 hours later, your dough will be bubbly and will come away from the bowl in long strands – this is the developed gluten. It will be loose and sticky; don’t add more flour!

IMG-0121

IMG-0114

Those strands are the gluten

Dump it onto a lightly floured counter, and form the dough into a ball by tucking the edges under – using either a dough scraper or your (lightly floured) hands.

IMG-0116

The dark bits are the chia and caraway seeds.

STEP 5

The traditional method is to bake your dough in a pre-heated cast iron pot.  This is an easy alternative.

Divide dough into two balls. Shape each ball into a log and put them in a perforated baguette pan. For a free form shape, place your logs (or ovals) onto a baking sheet that’s been generously dusted with cornmeal. Leave plenty of room between them.

IMG-0115.JPG

IMG-0118

Lightly dust the tops with flour. Cover the pan or baking sheet with a linen or cotton dishtowel (avoid terry cloth) or plastic wrap, and let the dough rise again for 2 hours.  After 1.5 hours have elapsed, preheat your oven to 500 degrees F.

STEP 6

After another half hour (the full two hours), your dough will have puffed up nicely. Spritz your hot oven with water, put the bread into the oven and lower the heat to 475 degrees F.

You can spritz again after 2-3 minutes to keep the steam going and create a crispier crust. You can also score the dough at this point to let steam escape during baking but it’s not crucial.

Bake for about 25 minutes and check your bread – it should be a rich golden color. Depending on your oven this may take another 5+ minutes.

IMG-0123.JPG

Left: the bottom, showing bumps from the perforated pan.

To ensure your bread is baked through, check it with a kitchen thermometer – the internal temperature of the bread should be 205-210 degrees F.

IMG-0126.jpg

Nice and craggy with an open crumb

Cool. Slice. Eat.


Delicious Wishes for the Holidays

To celebrate this season of giving and sharing, I’m passing along an old favorite.  May your holiday and New Year be filled with health, happiness, good cheer and everything you find meaningful. xo, Alisa

Focaccia with olives and rosemary

Bon Appétit |  May 1995

This recipe was inspired by one from olive oil expert Lidia Colavita. You can make a meal around the bread by offering it as an accompaniment to bean soup.

Serves 8.

Ingredients

2 cups warm water (105°F; to 115°F;)
2 teaspoons dry yeast
4 1/2 cups (about) all purpose flour
2 teaspoon salt

3 tablespoons olive oil
24 black or green brine-cured olives (such as Kalamata or Greek),
pitted, halved
1 tablespoon chopped fresh rosemary or 1 1/2 teaspoons dried

Preparation

Place 2 cups warm water in large bowl. Sprinkle dry yeast over; stir with fork. Let stand until yeast dissolves, about 10 minutes.Add 4 1/4 cups flour and salt to yeast mixture and stir to blend well (dough will be sticky). Knead dough on floured surface until smooth and elastic, adding more flour by tablespoonfuls if dough is sticky, about 10 minutes. Form dough into ball. Oil large bowl; add dough, turning to coat. Cover with plastic wrap and let rise in warm area until doubled, about 1 1/2 hours. Punch down dough; knead into ball and return to same bowl. Cover with plastic wrap and let rise in warm area until doubled, about 45 minutes or less

Coat 15×10-inch baking sheet with 1 tablespoon oil. Punch down dough. Transfer to prepared sheet. Using fingertips, press out dough to 13×10-inch rectangle. Let dough rest 10 minutes. Drizzle 2 tablespoons oil over dough. Sprinkle olives and chopped rosemary evenly over. Let dough rise uncovered in warm area until puffy, about 25 minutes.

Preheat oven to 475°F. Press fingertips all over dough, forming indentations. Bake bread until brown and crusty, about 20 minutes. Serve bread warm or at room temperature.

The Joys of Improv

Leftovers! Why does that word have such an unfortunate connotation — “sad”, “dreary”, “unwanted”? For example: Last to be chosen for softball (that would be me in 6th grade). Late to losing one’s virginity (also me… age 20). Third tier invitee to a wedding or party (not me I hope, although I’ve never found out if I was on the C list.)

But in fact you can make amazing things out of leftovers because they invoke your creativity. Only downside… you’ll never make that dish the same way twice.

I refuse to take credit when a recipe I’ve read in a book turns out ok. All I had to do was read and follow instructions. (On second thought, maybe credit IS due because I suck at following instructions; just ask my Long Suffering Husband.)

Still, isn’t it much more fun to wing it without a net and make something up? That’s what we’re faced with at this point in the season, when we’re close to shutting down the summer house and have to invent recipes based on what’s in the fridge/freezer that needs to be used because I have some weird Puritanical Streak or Jewish Guilt telling me it’s a SIN TO WASTE FOOD!!!!

Last night, the LSH combined basic rice with leftover salsa, leftover cheddar and mozzarella, turmeric, salt and pepper, paprika, chili powder and moribund sliced jalapenos to create Mexican rice. Probably not authentic, but definitely tasty and it hit all the points for Using Up Crap In the Fridge.

IMG_2699

Below is an adaptation of a favorite recipe, tweaked to use up various bits of excellent cheese that were malingering in the fridge. Feel free to substitute other nuts and adjust based on your own leftovers; there’s pretty much no wrong way to make this.

Cheesy Shortbread Leaves

Ingredients

  • 3.5 ounces crumbled cheese (about ½ cup), e.g. gruyère/cheddar/conté
  • 3 tablespoons unsalted butter, room temperature
  • 1 teaspoon Dijon mustard
  • ½ cup all purpose flour
  • ¼ cup cornstarch
  • ¼ teaspoon coarse salt
  • 1/8 teaspoon ground black pepper
  • 1 teaspoon minced fresh tarragon
  • 1/3 cup almonds, finely chopped

Preparation

  1. Blend cheese and butter in food processor until creamy.
  2. Add flour, cornstarch, mustard, tarragon, salt and pepper. Pulse until mixture resembles coarse meal.
  3. Add nuts and process just until it forms moist clumps.
  4. Gather dough into a ball. Flatten into a disk and wrap in plastic. Refrigerate until firm, about 1 hour.
  5. Preheat oven to 325° F. Line 2 baking sheets with parchment paper.
  6. Roll out dough between sheets of plastic wrap to 1/8″-1/4” thickness. Remove the top sheet of plastic and using a 2” x 1” leaf-shaped cookie cutter, cut out leaves. Note: if you don’t have a cookie cutter, you can roll the dough into a log, chill until firm enough to cut but not super-cold, and then cut slices instead. Gather dough scraps and re-roll to make additional leaves.
  7. Transfer leaves to baking sheets and bake until golden brown, about 20 minutes.

Makes about 4 dozen, depending on thickness of dough and size of cookie cutter.

IMG_2701IMG_2702IMG_2703

“Got Your Goat” Quick Bread

“There’s rosemary, that’s for remembrance” wrote Shakespeare in Hamlet.  Unfortunately I don’t remember where I first saw the original recipe and I’ve made a few changes to it along the way.

FullSizeRender 12

Being blessed (or cursed, as the case may be) with abundantly-growing rosemary in our hot climate, I’m always looking for a new way to use it. This tangy, crunchy, slightly sweet loaf is super-easy to make. It’s also very versatile.  Substitute any of your favorite herbs or nuts, or add raisins, chopped figs or kalamata olives for a different flavor.

Savory Quick Bread

Ingredients:

  • 1 large egg
  • 1 cup lowfat milk
  • 4 tablespoons softened butter (unsalted)
  • 1 tablespoon baking powder
  • 1 teaspoon lemon zest
  • 1/2 teaspoon finely chopped fresh rosemary (or 1 teaspoon dried and crumbled)
  • 1/3 cup finely chopped pecans
  • 1/4 teaspoon kosher salt
  • 1 cup whole wheat flour
  • 1 cup all purpose unbleached white flour
  • 2 ounces goat cheese (very cold), cut or crumbled into small chunks

FullSizeRender 14

Directions:

  • Heat the oven to 350℉.  Butter a 9″ loaf pan (or use Baker’s Joy spray).
  • Beat the egg in a medium bowl and whisk in the milk and butter. Don’t worry if you still have small lumps of butter after whisking.
  • In a large bowl, stir together baking powder, rosemary, lemon zest, pecans, salt and flours.
  • Add the egg mixture to the dry ingredients and stir everything together with a wooden spoon until barely combined.
  • Sprinkle goat cheese pieces over the batter and fold in gently with 2 or 3 strokes.
  • Pour batter into the prepared pan and bake about 50 minutes or until a tester or toothpick inserted in the middle of the bread comes out clean.

Yield: about 12 servings

FullSizeRender 11FullSizeRender 13IMG_1845

A Morning Quickie

A couple of days ago, our two-year-old grandson had a meltdown on the first day of preschool when he was told there would be no goats in his classroom.  I’m not sure why he expected to see goats – because they’re kids? (ba-dum-bum!) – but it put me in the mood to bake one of my favorite easy breakfasts.

These savory muffins take about half an hour start to finish, and make a great grab-and-go treat. Add the grilled onions if you’re not going to breathe on anyone! (I was out of onions when I made this last batch, so I used onion powder instead.)

Goat Cheese Muffins

  • Preheat oven to 350 degrees
  • Grease a 12-cup muffin pan (or spray with Baker’s Joy)
  • Slice one onion thinly and fry in a little olive oil until lightly browned*.  Set aside.
  • Combine:
    • 1+ 3/4 cup all purpose flour
    • 3 tsp baking powder
    • 1/2 tsp salt
    • 2-4 ounces goat cheese
    • Fresh rosemary, chopped, 1-2 tsp (For dried, crumble into small pieces and use ½ tsp)
  • Mix separately:
    • 1 egg
    • 1.5 cup milk
    •  3 tablespoons melted butter
  • Add liquid to dry ingredients and mix as little as possible to combine.
  • Pour into muffin tin, filling the cups almost full. This usually makes 11 medium-size muffins (pour a little water in the empty cup) or 24 mini muffins.
  • Top each cup with a few strings of the grilled onions.
  • Bake about 25 minutes until just golden. Use a toothpick or skewer to test that they are done but don’t overcook them; they should be tender.

*Alt: Add 1/8 tsp onion powder to dry ingredients.

Mouthing Off

Yesterday I went to the dentist to have a crown made. “Crown” sounds so elegant, like you should dress up and be all Downton Abbey-ish, rather than the disturbing reality of someone jamming their elbow into your mouth while you’re drooling and wearing a paper bib.

I started wondering what kind of person chooses a profession where no one wants to see them. Sure they make good money but you could be a podiatrist. Feet have to be more appealing than rotting teeth and bad breath. Are all dentists masochists? Personally, I’d rather have a colonoscopy than visit the dentist. At least you are asleep through the ordeal and they give you nice warm blankets and juice. At the dentist you get lidocaine and vile-tasting mouthwash, and stumble off with lipstick all over your face because you can’t feel where your lips end.

Leaving with a swollen jaw and an admonition not to eat anything hard or sticky (Nuts! Caramels!) I decided on cauliflower for dinner. It’s nice and bland and won’t stick to the temporary crown. If you’ve never puréed cauliflower, it makes an excellent substitute for mashed potatoes, which I didn’t have in the house. It won’t fool anyone but it’s quite tasty and low cal too. All you do is steam the head and mush it up in a food processor with some milk, salt and pepper, plus grated parmesan to offset all that healthiness. Go easy on the milk, adding slowly until you get the right consistency.

Still, modern dentistry is a big improvement over the “good” old days, when they didn’t have anesthetic. If you’re not squeamish, check out http://hubpages.com/health/A-Short-Painful-History-of-Dentistry, which is fascinating. Did you know that an ancient Roman toothache remedy was gargling with urine? Aren’t you glad I told you?

I’ll have the temporary for 2-3 weeks so I’m thinking about other soft foods to eat.
Since it’s chilly I’m focusing on soup. In this easy recipe for veggie soup, start with whatever’s in the fridge and add your favorites. Bon appétit!

vegetables-140917_640

Veg Out Soup

INGREDIENTS
• 2 TBSP extra virgin olive oil
• 1 lg. onion, chopped
• 1 leek, chopped
• 2 carrots, chopped
• 2 celery stalks, chopped
• 1 medium zucchini, chopped
• 1 medium yellow squash, chopped
• 1 bell pepper, any color, chopped
• Trimmed green beans, cut bite size
• 1 lg. can fire roasted (or other) diced tomatoes
• 8 cups low fat chicken broth (enough to cover all veggies)
• Rind of Parmesan cheese
• Salt and pepper to taste
• Any other veggies you like, such as turnips, parsnips, chard, etc.
Optional: add a can of beans at the end of cooking

DIRECTIONS:
• Cover bottom of large, heavy soup pot with olive oil
• Turn heat to medium
• Add chopped onion to pot, stirring occasionally so it browns lightly
• Add other veggies to pot, stirring with each addition. Start with thicker, heavier vegetables, then add lighter ones
• When all fresh vegetables have been added, add can of tomatoes, Parmesan rind and enough liquid to cover veggies well
• Raise heat until soup starts to bubble, then lower to a simmer
• Simmer for several hours, until liquid has reduced and soup has thickened
• Remove rind and season with salt and pepper to taste
• Serve with crusty bread and more grated Parmesan

Makes about 8 servings