
Sourdough has a reputation for being a bit tricky, so a lot of people find it intimidating. Thanks to my friend P, a fellow baking geek, I’ve been introduced to the Lahey method, which makes it super-easy to bake bread at home. I love this book!
I’ve been experimenting with Lahey’s method for several weeks and my adapted recipe for sourdough is even simpler. It looks like a lot of steps but bear with me.
The genius part: Instead of folding/kneading your dough every few hours, you let your dough ferment overnight (18 hrs), do a second rise for 2 hrs and bake. No more being stuck in your house all day during the rising process!
STEP 1
All sourdough begins with a starter — natural yeast with a brinier flavor than the commercial yeast you find at the supermarket. Plan on 3-4 days before it’s ready to use. All you need is flour, water, air and time.
Mix equal parts water and flour in a wide mouthed container, cover it loosely so air can get to it, leave it out on your counter and wait. THAT’S IT. Really!
Once your starter is bubbly and active, try to make your dough within a few hours, before it loses potency. Thereafter, if you’re not baking regularly, dump out about 50-75% once a week, stir in equal parts water and flour, and start the process over.

Starter is ready to use!
I encourage everyone to invest a few bucks in a kitchen scale and measure by weight rather than volume because 1) it’s easier and 2) it will guarantee consistent results. Remember, different flours have different densities so one cup of A may be slightly more or less than one cup of B.
Put your empty container on the scale, and set it to zero. Add 50g-75g whole wheat flour, 50g-75g bread (strong) flour, and 100g-150g cool water, resetting to zero after each addition. Don’t worry if you’re off by a gram or two as long as your ratio of total flour to water is roughly 1:1.
STEP 2
You’ve been patient and you now have over 100g of starter. Let’s get going.
Put a large bowl on the scale, zero it out, and add:
- 600g flour (I like 475g bread flour +125g whole wheat or another grain)
- 16g salt
- ¼ teaspoon of active dry yeast (the kind you get at the grocery store)
- 450g water
- 107g active starter*
- Optional: Add a generous handful of chia seeds and a tablespoon of caraway seeds, as I’ve done here.
*If this amount uses up most of your starter, replenish by adding 50g flour plus 50g water, mix well and set it aside to reactivate for a couple of days.
STEP 3
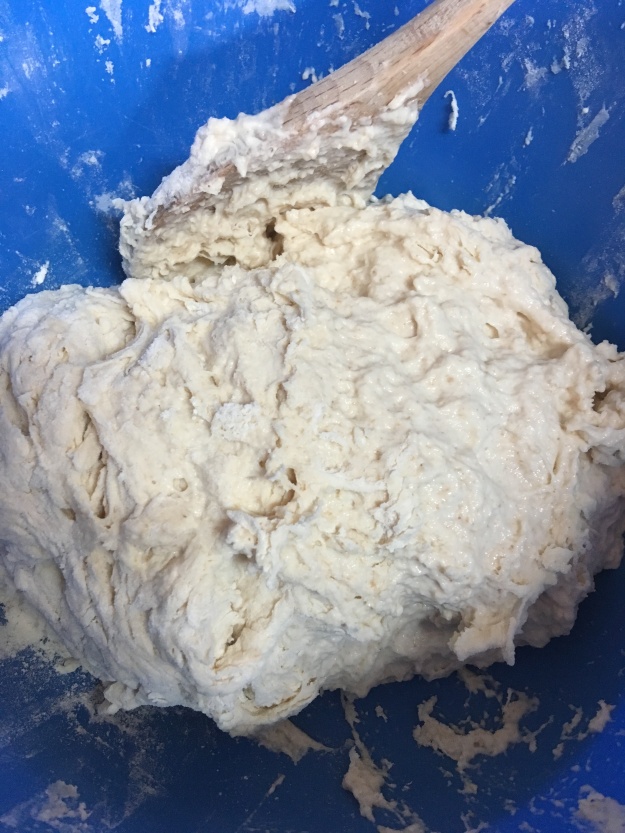
Once you have a well mixed dough (it will be sticky; DO NOT be tempted to add more flour), loosely cover the bowl with plastic wrap and leave it out at room temperature overnight for 18 hours. If you do this at, say, 4 PM, your dough will be ready for the next step at 10 AM the next day.
STEP 4
18 hours later, your dough will be bubbly and will come away from the bowl in long strands – this is the developed gluten. It will be loose and sticky; don’t add more flour!


Those strands are the gluten
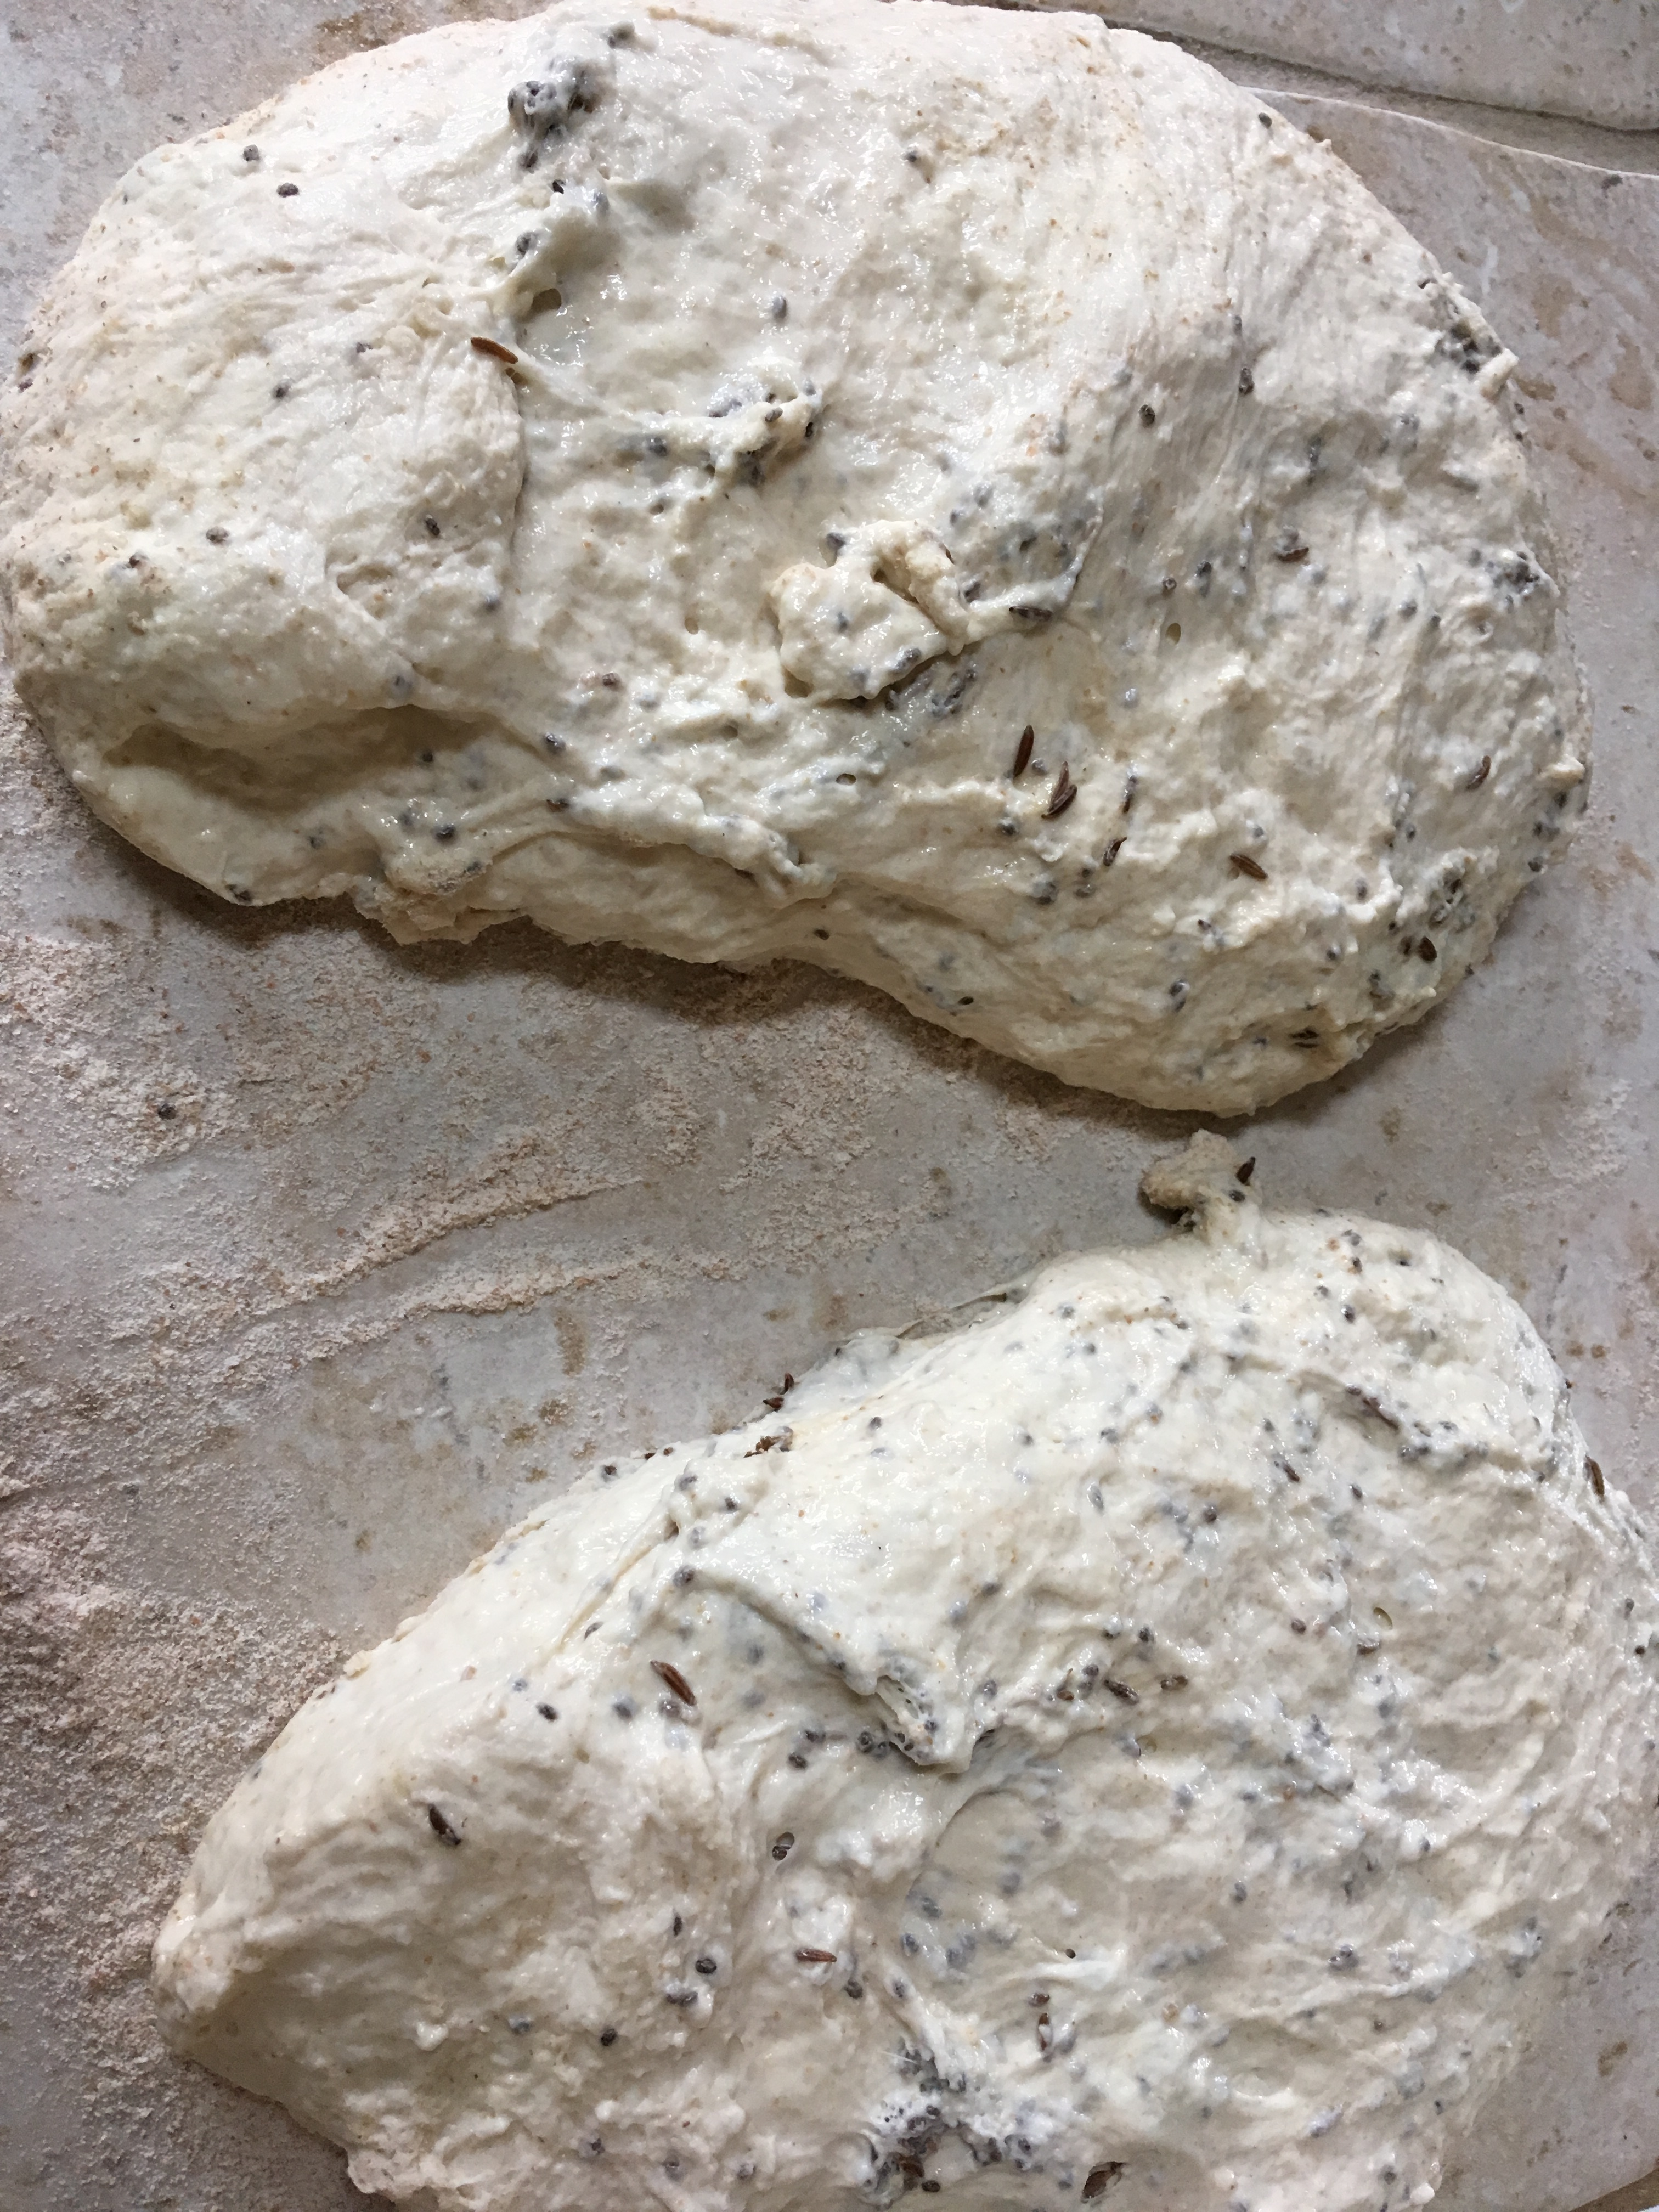
Dump it onto a lightly floured counter, and form the dough into a ball by tucking the edges under – using either a dough scraper or your (lightly floured) hands.

The dark bits are the chia and caraway seeds.
STEP 5
The traditional method is to bake your dough in a pre-heated cast iron pot. This is an easy alternative.
Divide dough into two balls. Shape each ball into a log and put them in a perforated baguette pan. For a free form shape, place your logs (or ovals) onto a baking sheet that’s been generously dusted with cornmeal. Leave plenty of room between them.

Lightly dust the tops with flour. Cover the pan or baking sheet with a linen or cotton dishtowel (avoid terry cloth) or plastic wrap, and let the dough rise again for 2 hours. After 1.5 hours have elapsed, preheat your oven to 500 degrees F.
STEP 6
After another half hour (the full two hours), your dough will have puffed up nicely. Spritz your hot oven with water, put the bread into the oven and lower the heat to 475 degrees F.
You can spritz again after 2-3 minutes to keep the steam going and create a crispier crust. You can also score the dough at this point to let steam escape during baking but it’s not crucial.
Bake for about 25 minutes and check your bread – it should be a rich golden color. Depending on your oven this may take another 5+ minutes.

Left: the bottom, showing bumps from the perforated pan.
To ensure your bread is baked through, check it with a kitchen thermometer – the internal temperature of the bread should be 205-210 degrees F.

Nice and craggy with an open crumb
Cool. Slice. Eat.

Thank’s for this, I like sourdough and I find that I haven’t been able to the best way to do a starter…
LikeLike
Loving this recipe! Can I share this via reblog so I can keep it nearby for reference?
LikeLiked by 1 person
Please do!
LikeLike
Reblogged this on lifexperimentblog and commented:
This recipe! It’s been 2 weeks now that I’ve been on my extreme experiment challenge and I’ve been searching for a semi-simple recipe for baguette bread. Everything looks so…complicated! Until I came across this quite awesome recipe on http://www.olderfatterhappier.com
I’m reflagging this because I think it’s cool, but also so I can have it on hand when I try it. 😉 I WILL try this!
Enjoy!
LikeLike
Thanks so much, mlaie! Let me know how it works for you. I’ve a pan rising now that I’ll be baking in a half hour so will double check the bake time 🙂
LikeLike
I am so very happy that you like my Lacey method…..it goes so well with the sourdough starter…
LikeLike
And thanks for link and tips and link using a scale for measuring. Love your blog😍
LikeLiked by 1 person
Thanks so much! Hope you have success making this. And using a scale for everything you cook makes life much easier 🙂
LikeLike
I am not a baker but this looks delicious
LikeLike
Pingback: When Bad Bread Happens to Good Restaurants | olderfatterhappierdotcom